Exercise 4.1: Creating a Plant Portrait or Other Composition in Watercolor
Exercise 4.1: Creating a watercolor
This exercise we will use watercolor to create a small, lovely plant portrait.
Watercolor is an entire course in this three-course suite; many students have asked for a return to go further with their work. We will focus on the main techniques while using other learned techniques. Watercolor has been used for centuries for painting plant portraits.
As a reminder, transparent watercolor is never lightened by adding white paint -- this will simply make the color look chalky.
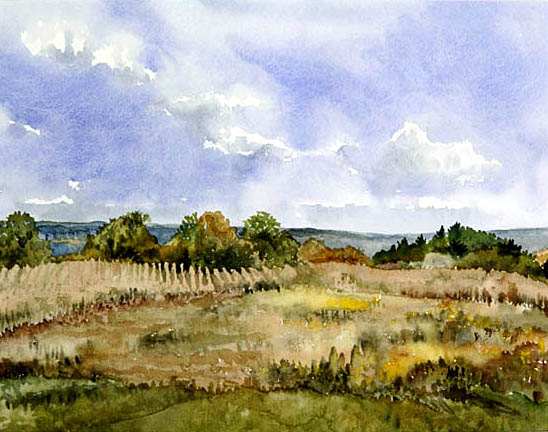
We will be creating a simple plant portrait. Alternatively, you can create a landscape or still life if you are an advanced watercolor student and are eager for a challenge.
You may find Beautiful Botanicals: Painting and drawing flowers and plants, by Bente Starcke King, which was used in the second course, to be an excellent refresher. Your text, Botanical Illustration Course, has numerous pages for inspiration.

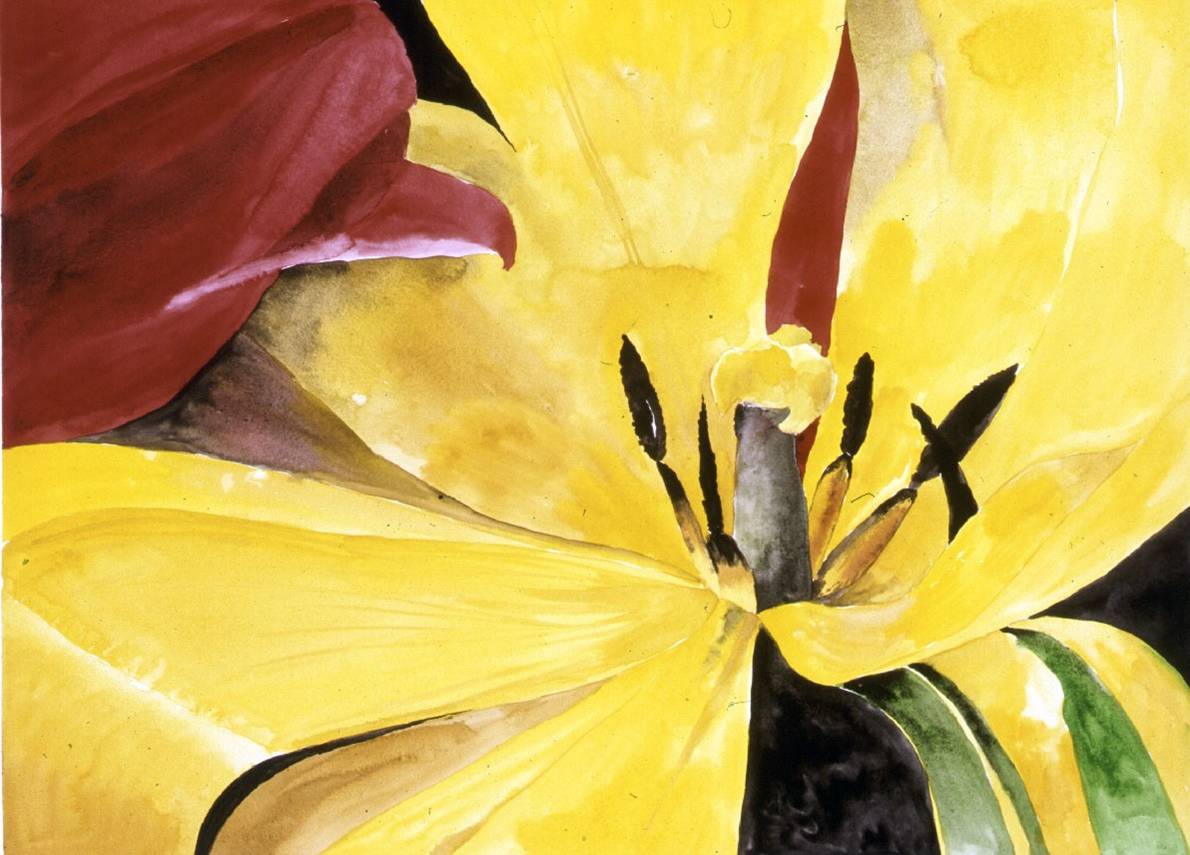
For this exercise explore your environment to find an interesting subject. Keep it simple! As you can see in the composition above, it is just a tulip and an adjacent tulip, and several colors. Aim for something that won't overwhelm you, particularly if you have been away from watercolor for a while.
You may find it easiest to work with a watercolor block. Otherwise, prepare your paper by dampening one side, laying it on a Masonite or other board surface, and taping down the edges, allowing it to dry. If you are someone who loves detail, you may prefer a hot press, while others who use more water in their washes may prefer cold press.
Observe the plant you're working with. What will your overall composition be? Which specimens will you include (or exclude, as the case may be?) Will you paint a piece in its entirety, or allow it to bleed off the page as in the above example? You might create a small study of several leaves or flowers as well.
First, note where your light source is. This is very important when creating watercolor, particularly since very light areas have little paint and require planning ahead. Squinting helps to eliminate specific details by letting you view color and value in their simplest forms.
Begin by very lightly sketching out the shapes.
Next, brush over your completed drawing with clean water to remove the sizing or thin film on the paper. After this is dry, you can gradually build up your painting with layers.
Start with the lightest values, then create mid-tones and darker areas -- those deeper colors and shadow. Apply an initial wash, considering how to work with highlights, planning ahead for those. Be sure to wait and allow layers to dry before going further, or you will 'muddy' your piece. Add fine details last.
Continue working for at least an hour or more.
Please give your work a title. Scan and submit for grading.
