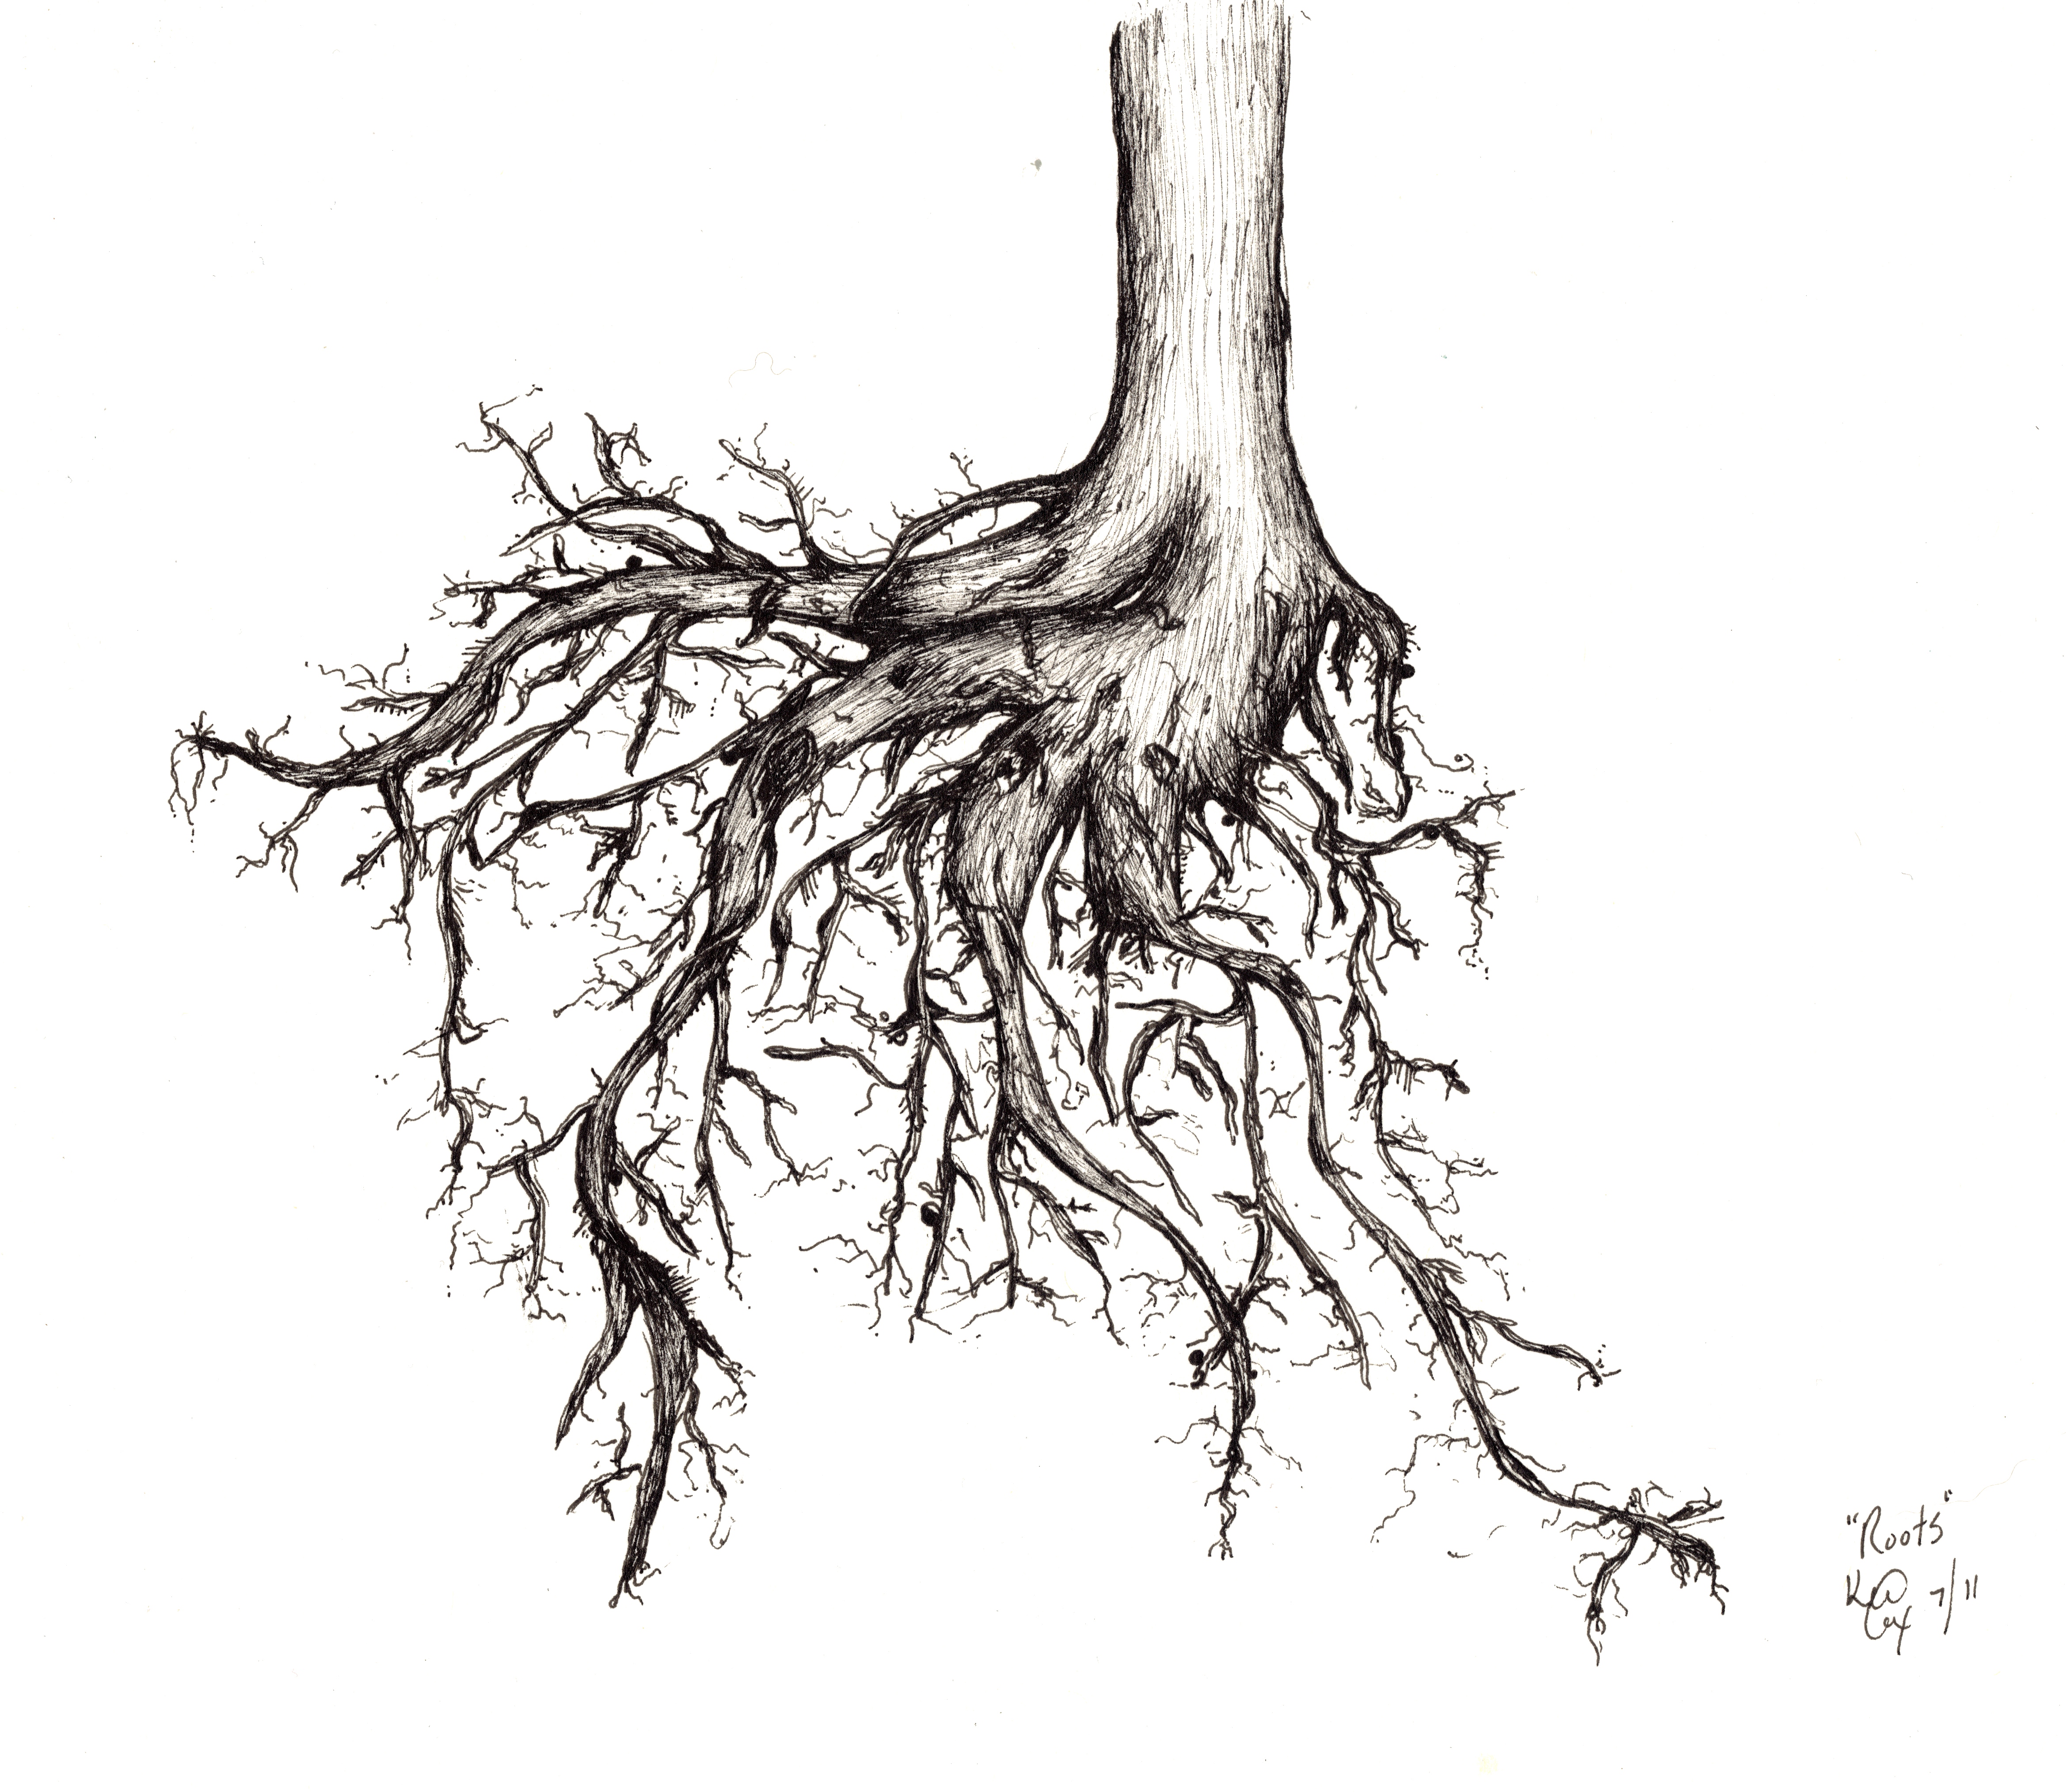
Exercise 2.1: Roots with Pen Techniques
Using pen and ink, you will learn to use black and white elements to create the illusion of value, depth, and texture in your botanical illustration. "Micro pens" come in various sizes, styles and forms. The four main types are 'brush', 'medium', 'fine' and 'script' point. Below are a few examples. .005 to .08 are the sizing from smallest to largest point of the pen. Having that range is good for creating details in your illustrations. Before starting your exercise, make sure you are comfortable with your pen tools. In this exercise we are illustrating roots. Again, be sure to read pages 34-39.
Roots are a very interesting subject to illustrate and can be under-appreciated since we rarely see them! Roots of a plant are important for nutrition and stability. Rhizomes, nodulated, taproot, fibrous, tuber and bulbs are a few types you will find in your underground landscape.
Locate one of these type of roots for your first assignment. If possible, hang your roots in the air to see the details. Take notes on the type and the details of that root. What geometric forms do you see and what are the details of the root? Spend a few minutes observing your subject.
For the next step, we will start to draw your root. Using your pencil and eraser, finely draw the outline of your specimen with very light pressure. Do not press to the point of being scratchy or rough.
Once you have completed the overall layout and composition in pencil, bring out your pen set and begin to draw. Start with the smallest point (.005) to re-lay your composition very lightly. Keep in mind where your light source is, and what parts of your root hold highlights and shadows.
After the highlights, shadows and layout have been addressed you can move onto using your smaller pointed pen to create the shadows. Shadows are formed by using stippling, lines or crosshatch. Stick to one method and always plan ahead since pen is permanent. Spend at least 30-45 minutes on this exercise. Feel free to illustrate more than one root. If successfully completed, this assignment can become part of your portfolio. If you know the species of your plant, with your smallest pen in either italic or underlined type write the scientific and common name of your subject on the bottom right hand corner. Scientific names and spelling can be found on the internet or in books if needed. Scan and submit for grading.
