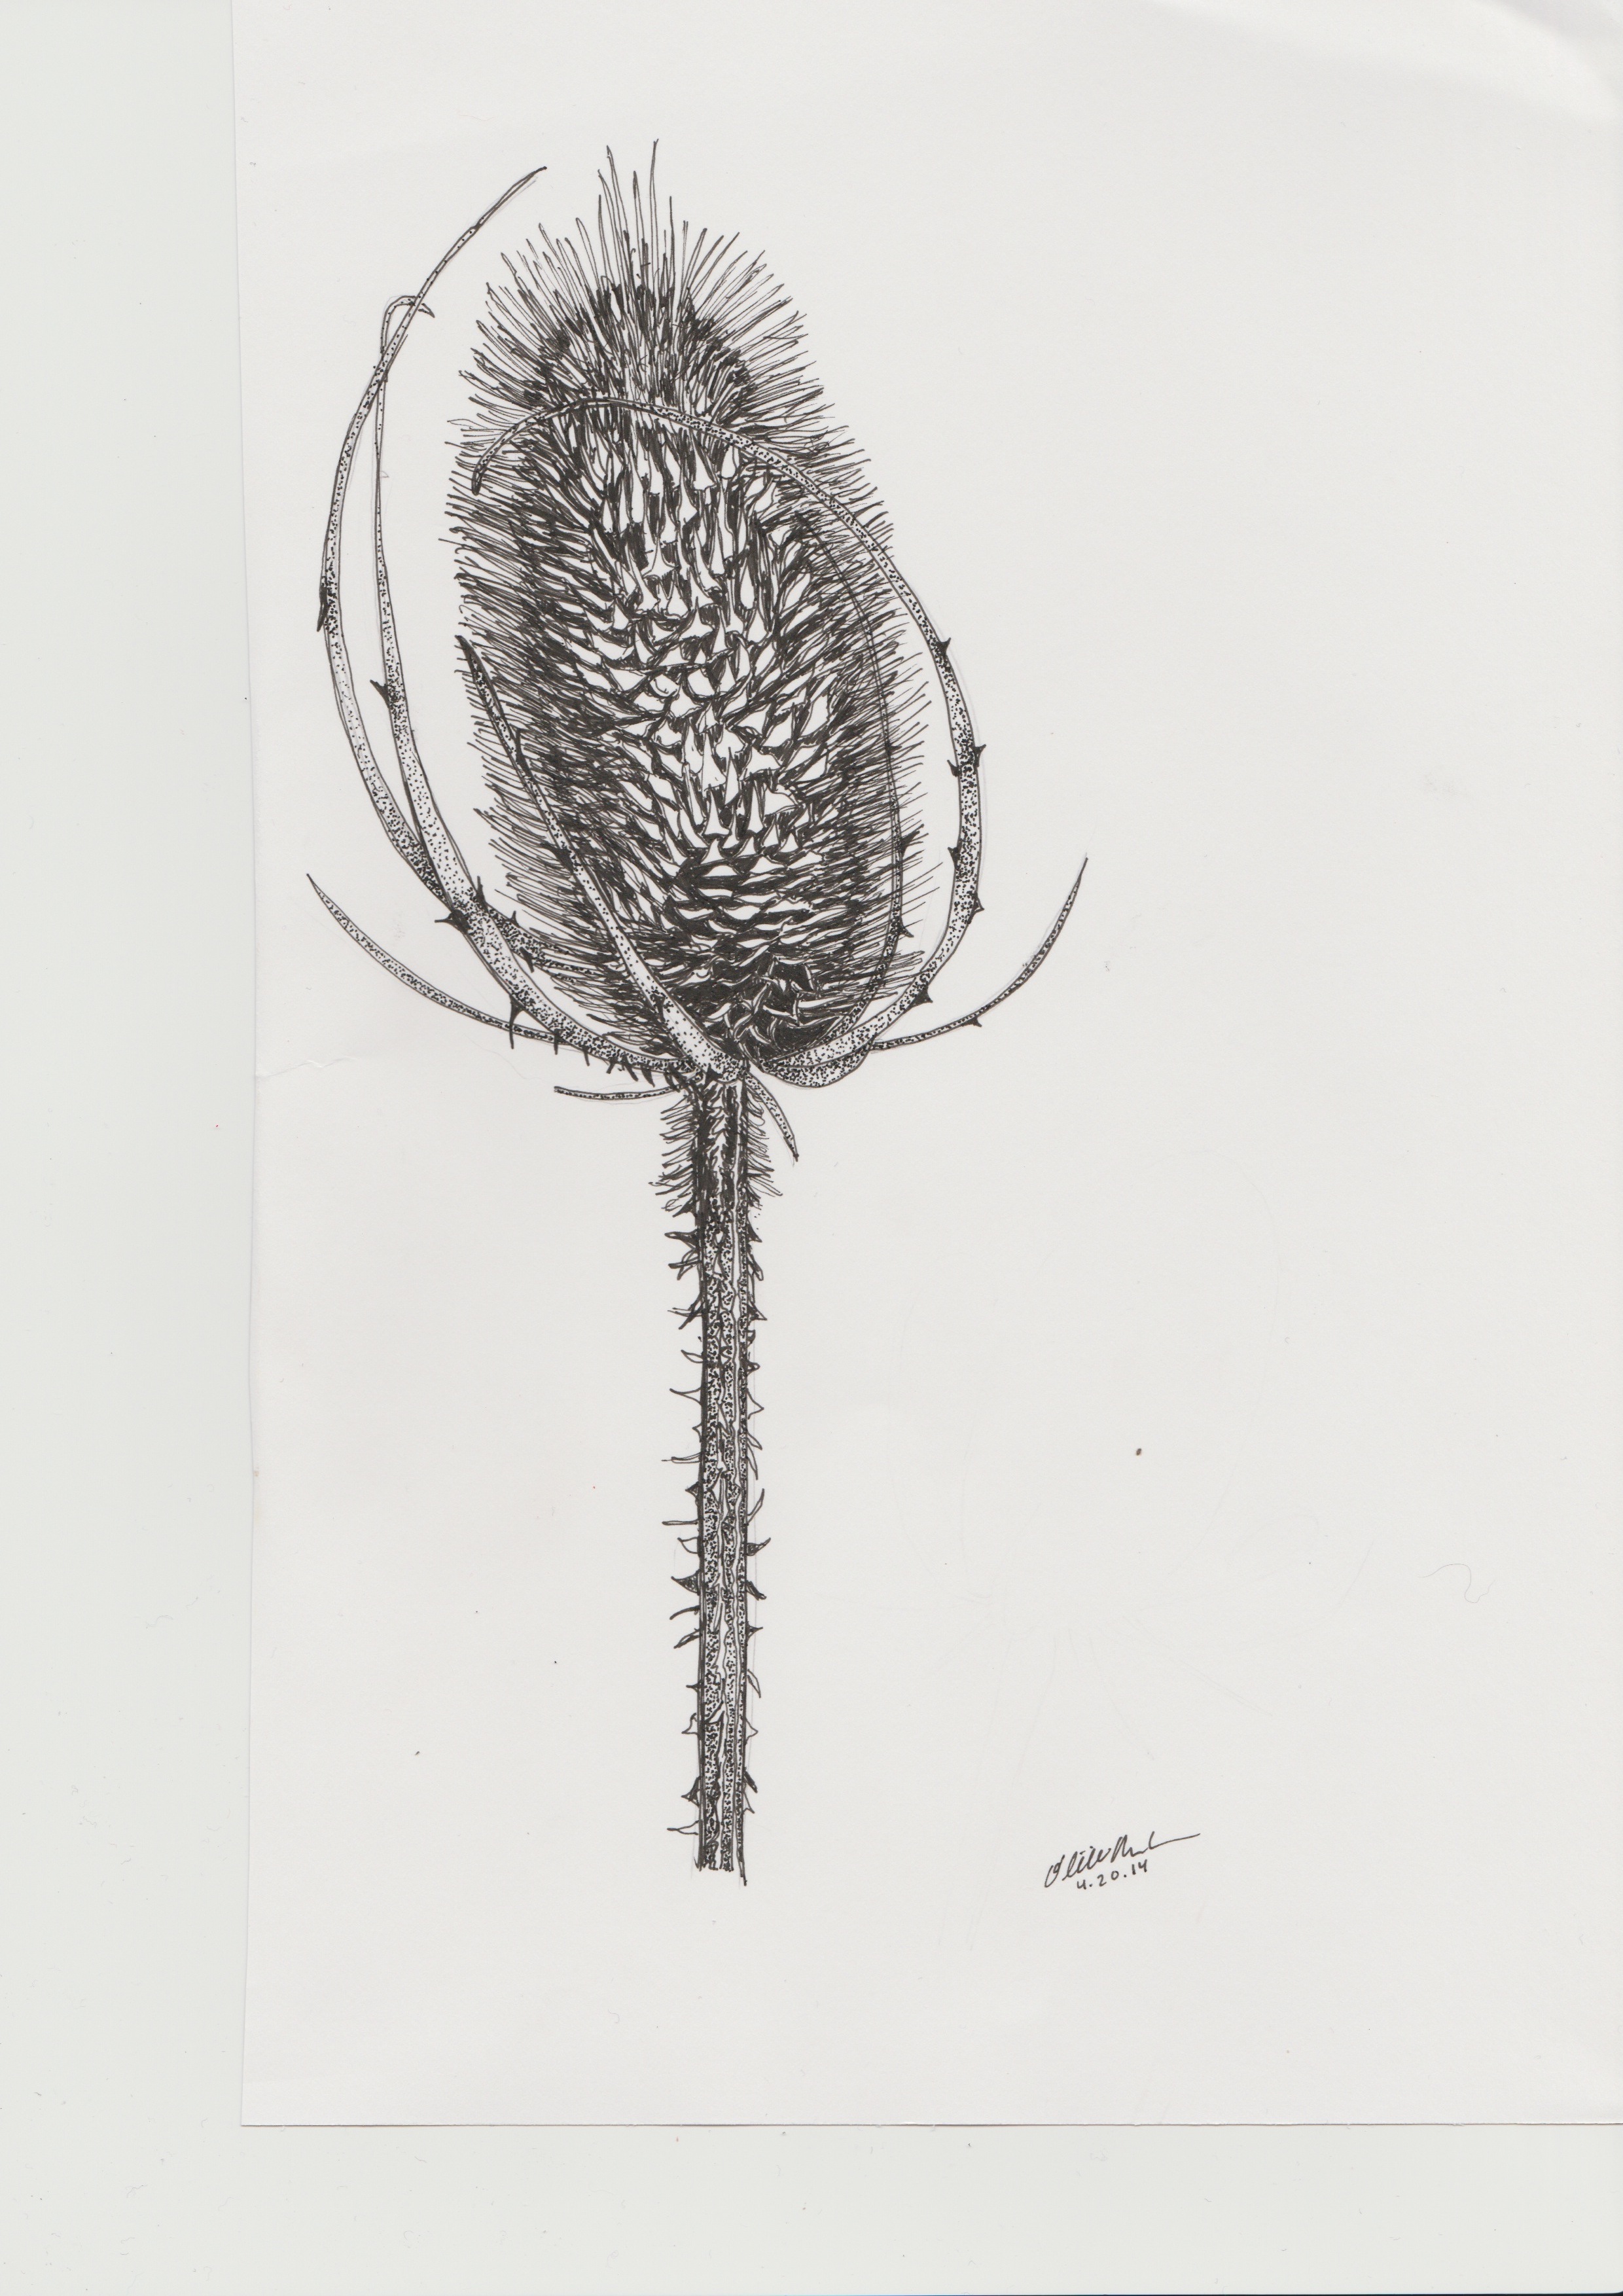
Exercise 1.1: Lines, Patterns and Shading with Pencil Techniques
Exercise 1.1: Lines, Patterns and Shading with Pencil Techniques
For preparation, have ready your pencil set and sketch pad. For this exercise we will review shading and patterns. These are the foundation of every good botanical illustration, especially when working with color.
Become reacquainted with your pencils. On your paper draw lines using varied pressure to find the lightest and darkest variation. Try different types of patterns including non-directional, hatching, cross hatching, and pointillism.

After practicing sketching and patterns, we will focus on shading. This activity is useful for discovering the variation you can accomplish with your tools. With your pencil (and a ruler if you like) draw ten squares sized 1/2 inch x 1/2 inch, lined up from left to right. You will see this practice outlined in chapter 1 section.

After you have drawn the outline for your scale, you will create shading from lightest to darkest starting from left to right (or right to left, if you would like your work to follow the above graphic). A good approach to this exercise is to actually start with the darkest block, then move from the right to the left creating lighter shades. You will find the middle blocks will be most difficult. Do this exercise with each pencil you are using. You can experiment and challenge yourself by starting from the lightest to darkest, or even starting in the middle tone.
After completing your first shaded scale, print out the example above to compare with your completed piece. This will help you determine the right variation in the middle blocks. Once compared try the exercise again. Keep your completed shaded strips in your sketch book as a reference. They will come in handy in the future. Scan and submit for grading.
We will now focus on still life to reintroduce the basics of illustration.
 For this exercise, find a simple subject to draw. Fruits are great for this exercise including an apple, orange, or banana, as are simple seed pods or nuts. Using your pencil and sketch pad, spend ten to twenty minutes sketching your still life. If you would like to spend more time on your drawing, please do. When your sketching, focus on the following guidelines:
Contour and form: Including the overall shape and proportion.
Precision: The study is accurate in form, almost at a science and technical level.
Detail: The most important part in botanical illustration. A detail such as number of petals can be the difference between two different plant types. A thoughtfully rendered element of fungal disease or insect damage can convey information as well.
Composition: The overall layout of the illustration on the paper.
We will concentrate on these guidelines in more detail throughout the course. One you've completed this assignment, scan and submit your single subject drawing for grading.